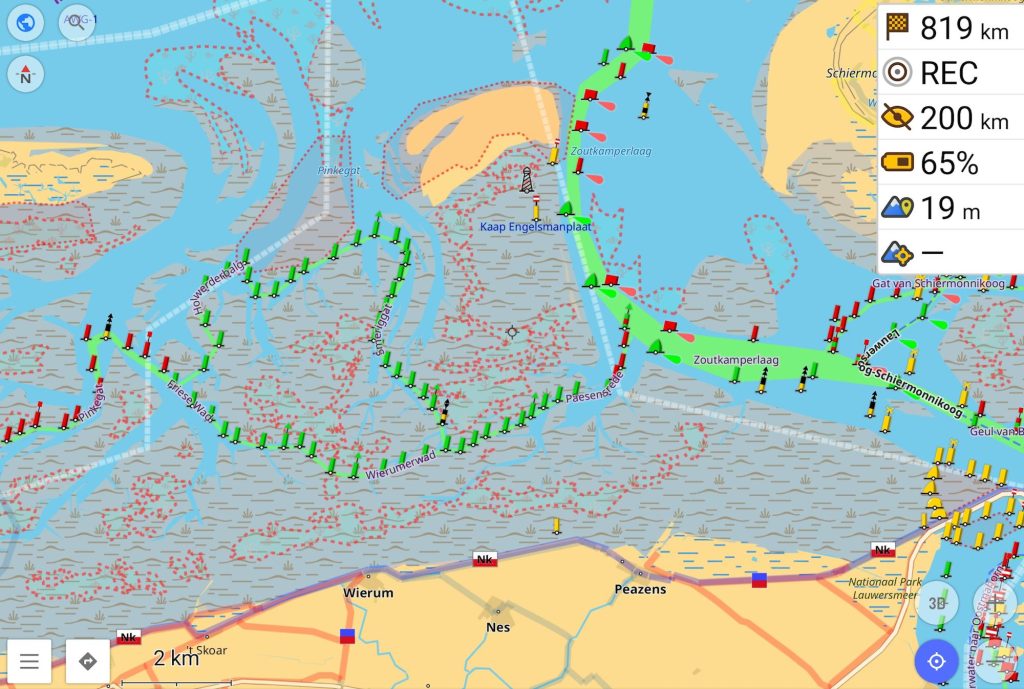
OsmAnd+ is a mobile web app with many features. I have written before about how to set it up for wintersports and navigation at sea and for mudflat walking. In this post I’d like to show how to add satellite and aerial imagery to the map.
In-app satellite/aerial imagery (updated irregularly & online)
OsmAnd+ offers a relatively straightforward way to access satellite and aerial images that can be used as an overlay/underlay for the map. Note that the imagery offered through this method is often not up to date, so use with caution!
- Click the globe in the top right or go to the side menu -> “Configure map”. Press “Map source…”: if not set up yet, it will lead you to the plugin list where you have to enable the plugin “Online maps”.
- Once done so, go back to “Configure map” and then go to “Overlay map…”. Turn it on, press “Add more…” and select any online map you like. The one I can recommend is “ArcGIS World Imagery – Satellite” at the bottom of the list.
- Once the Overlay map is selected, make sure the “Transparency slider” is on as well as “Show map symbols”. The latter allows the nautical map objects like buoys to still be visible.
- Now back in the map view there is a blue slider at the bottom of the screen that allows you to control the transparency of the overlay map.
Custom satellite/aerial imagery (up to date & offline)
You can also load satellite and aerial images yourself, giving you the possibility to choose up to date imagery (e.g. from ESA via Copernicus Hub). However, this is a more convoluted process. There are two methods involving two different file types:
- .mbtiles – a common format for mobile raster (image) maps;
- .sqlite – a database type map format that can be made from a .mbtiles file.
The basis is the .mbtiles file, which can be made in QGIS using the “Generate XYZ tiles (MBTiles)” function in the Processing Toolbox.
Importing .mbtiles into OsmAnd+
The summary of this method is: we install another app, Mobile Tile Server that loads the .mbtiles and generates a Web Map Service (WMS). The WMS we can then load directly into OsmAnd+.
First we need to install Mobile Tile Server. This has a few additional steps because it is not available in the regular F-droid repositories. Instead, we need to install Droid-ify and use a separate repository.
Installing Droid-ify with repository
- Download the .apk file from https://github.com/Droid-ify/client/releases using the latest release.
- Install this .apk by clicking on it and giving permission for installation of an unknown source (just like the F-droid installation)
- Open Droid-ify, go to the triple dots in the top right and then go to “Repositories”.
- These repositories are sources of apps. Enable the “IzzyOnDroid F-droid Repo”
Once Droid-ify is set up, we can install Mobile Tile Server by searching for it and selecting “Install”.
Configuring Mobile Tile Server
- Open the app and go to “Settings”.
- Note down the “Listening port”. The default is 1886. This means that the server address is http://localhost:1886/, which we will use later to access the server.
- Also note the “Tiles root directory path”. This is the location where we will put our .mbtiles file.
To install a new map with the .mbtiles file, go through the following steps:
- Go to your phone’s file browser, then to the root directory (usually named “All files”), then to “MobileTileServer/mbtiles”
- Place the .mbtiles in this mbtiles folder
- Go back to Mobile Tile Server and press “start”. This starts the server on your phone that generates the WMS for each .mbtiles in the respective folder.
- Now we need to get the WMS link. For this, go to the URL mentioned earlier: http://localhost:1886/ in your web browser.
- Click on the link “Get a list of all MBTiles Tilesets
- Each .mbtiles file is listed here, together with metadata and a “For use in OruxMaps” field. In this field, copy the WMS URL, which is in the
[CDATA[...]]. The part...is the URL, usually likehttp://localhost:1886/mbtiles/FILENAME.mbtiles/{z}/{x}/{y}
Now we need to go to OsmAnd+ and add the map
- Click on “Configure map” (globe in the top left of the screen)
- Go to “Map source…”, scroll down and click on “Add manually…”
- Paste the WMS URL in the URL field and give the map a name. Leave the rest of the settings as-is and click “save”.
- You can now select this map in the “Map source…” screen or with “Overlay/underlay map…”.
Generating and importing .sqlite into OsmAnd+
This method is quite complex and does not work for a lot of Android devices. Essentially:
- Convert the .mbtiles to a .sqlite file using the Python code from this repository: https://github.com/tarwirdur/mbtiles2osmand
- Put the .sqlite file in the OsmAnd+ app files. This step does not work for most devices as they block direct access to app files.
- The map should then automatically appear in the “Map source…” list in OsmAnd+.

